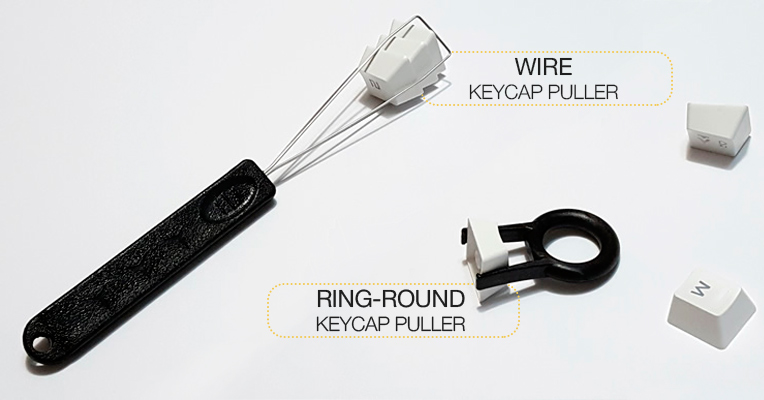
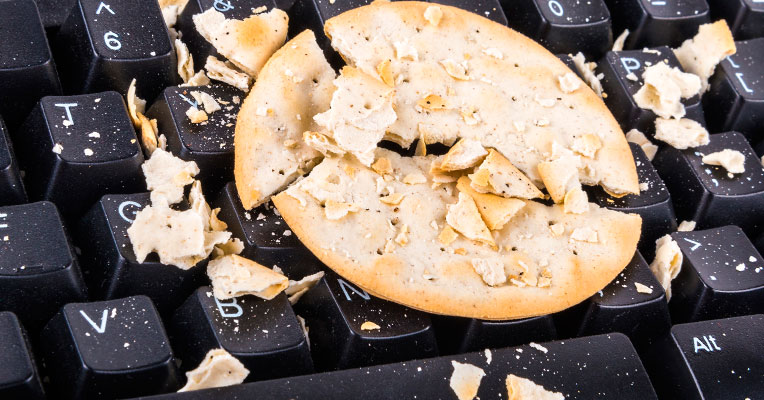
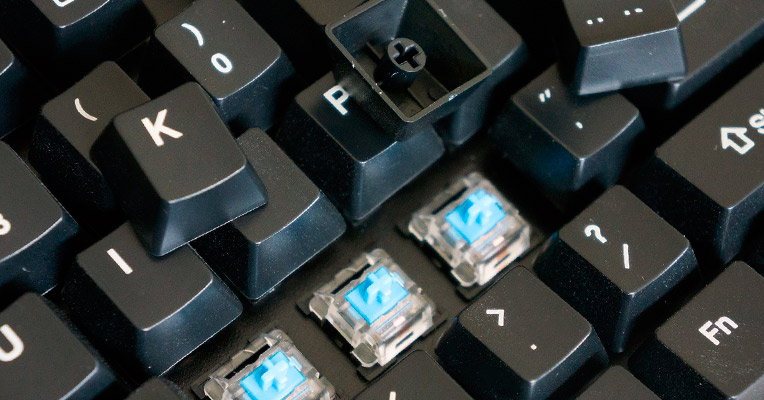
Despite the common belief that the removing and replacing mechanical keys is difficult, the process at its core is very simple and straightforward. Besides, most manufacturers supply their keyboards with special keycap pullers so you don’t need to shop for one somewhere else. With the keycap puller, it’s very easy to remove the keys and you run no risk of damaging the switches the keycaps come attached to. Keycap pullers can be of two types: wire and ring-round. Both of them are effective at pulling, though for faster removing we’d recommend you to opt for the wire type.
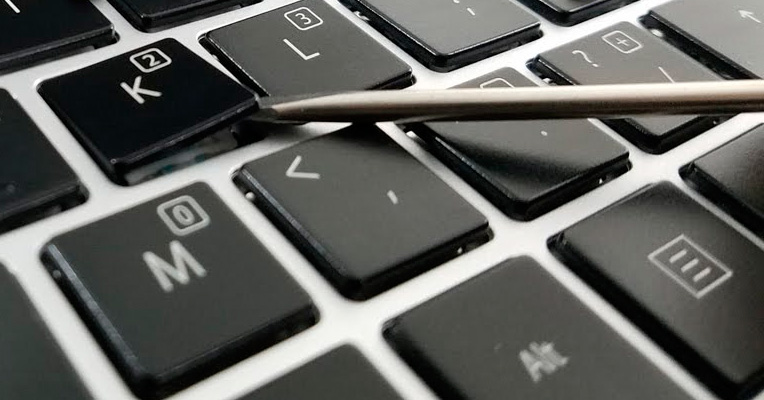
Along with the key puller, we’d also suggest that you use a small screwdriver and a slender. These aren’t necessary but if you’d like to facilitate the process to the maximum, these tools will certainly come in handy. Another suggestion would be that you separate all removed keycaps by “left” and “right” so that it would be easier to seat them back when you finish to clean the keyboard. When pulling the keycaps, try to be gentle and avoid applying too much force.
Now when you know how to remove mechanical keys, let’s move to the methods of cleaning a mechanical keyboard.
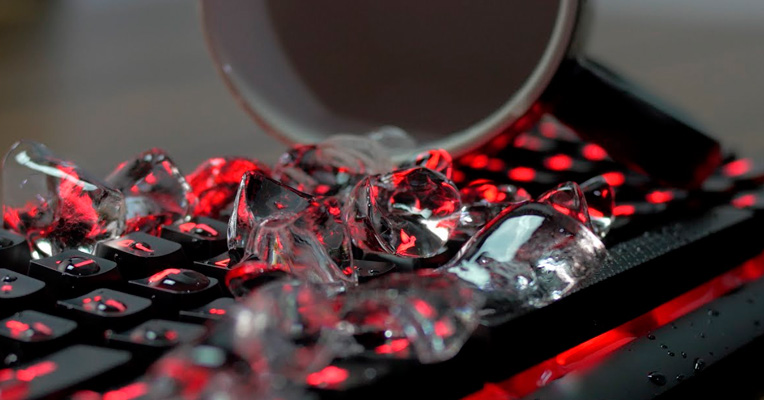
Eating next to the keyboard is a habit many avid gamers are guilty of. This, unfortunately, is also one of the reasons of spills on the keyboard. Whether you belong to this type or not, we are not here to judge you or to persuade you of changing your habits. What we want to offer you instead is an easy-to-follow guide that will assist you in removing stains and stickiness between the keys should an accident occur.
In case you accidentally spill beverage onto the keyboard, the first and most important thing to do is soak up all liquid so that it wouldn’t get inside the keyboard and fry its internals. For that, you may use paper towels or any other towel or cloth you’ve got at hand. Next, you’ll need to leave it to air dry for some time. What’s important here is not to use the keyboard for anything for the next three days or so until it’s completely dry inside. Only then, it’s safe to use again.
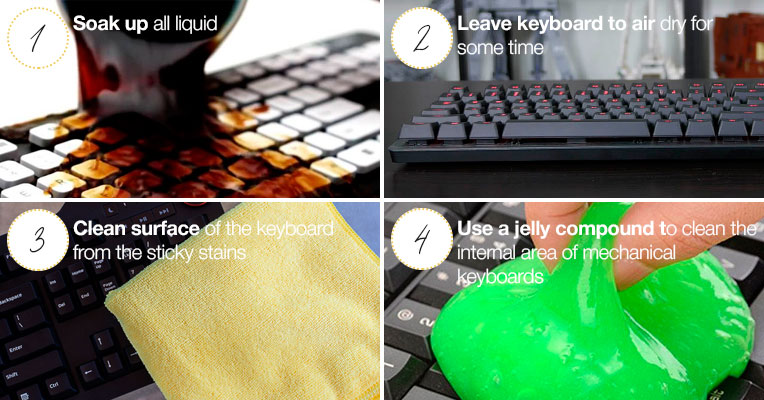
When that’s done, you will need to clean its surface from the sticky stains left over on the keycaps. This is critical to do in order to prevent the grime and grease from getting inside the internal components of the keyboard and causing more damage. For cleaning the exterior of your keyboard, you will need a wet towel or cloth and some time of yours for scrubbing off the nasty sticky stuff.
Another popular method of cleaning the internal area of mechanical keyboards is by applying a jelly compound, a special material that’s capable of attracting even micro debris and dirt. The advantage to using a jelly compound is that it’s so effective that sometimes it’s not even necessary to remove the keycaps to clean it. Although for more effective results, we’d recommend you to do that anyway.
For cleaning keyboards that are dirty internally and externally (things happen), simply wiping the surface won’t be enough. You will need to put some effort in order to remove stubborn grime both from the plate of the keyboard and from the keycaps. That said, this job isn’t as tough as it may sound. Here are a few steps that should help you remove even most stubborn dirt with considerable ease.
So what you should do first is to unplug your keyboard and take it apart. Usually, the keycaps are easy to remove manually, however, if you don’t feel comfortable with doing this, you can acquire a special key puller that will make this process much easier. Not all keycaps should be taken off though, and most large keys such as enter, shift, space, etc. that come secured with wires can be cleaned with a simple damp cloth. As for the rest of the keycaps, you can use either dish soap or denture tablets, which is a better choice considering that dish soap is tougher to rinse away at the end of the cleaning process.
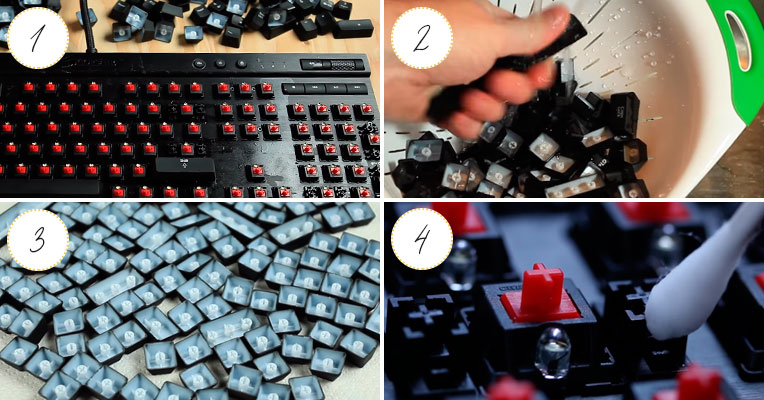
Find some container and fill it with warm water, add denture tablets and let them dissolve. Now place the keycaps in the water and leave them there for at least six-seven hours so that they soak in it for a while. While the keycaps are in the water, you can try to clean the oils and grime that built up on the plate of the keyboard using a small brush, preferably with stiff bristles. When scrubbing the plate with the brush, try not to apply too much force and avoid cleaning right next to the switch stems as this may result in damage. If the bristles are stiff enough, while being effective at loosening grime, they may actually cause it to go deep into switches making it much more difficult to remove it with compressed air or in any other way later on.
When 6 hours pass, take the keycaps out of the container and rinse them well under the tap water. Now you should leave them to air dry. While the keycaps dry, put the keyboard away to prevent it from attracting dust. That’s basically it. Once both the keyboard and the keycaps are dry, it’s time to assemble all parts together.
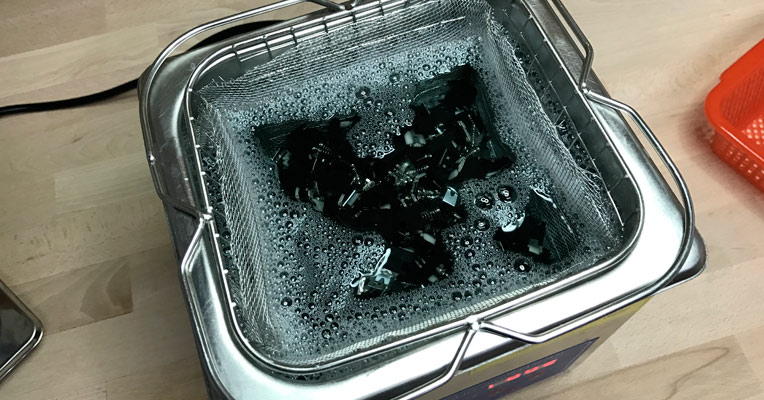
Whether you’ve purchased a used keyboard or haven’t had a chance to maintain your mechanical keyboard for a long time, the grime on it may become so severe that vacuuming and scrubbing it might appear not enough. In this case, the best thing to do is use an ultrasonic cleaner, the machine that’s been designed for cleaning the most severe grime by affecting the grime with high frequencies of vibrations. Of course, not all regular users might be interested in buying one, but if you run an office or simply can’t stand the look of your keyboard, getting one won’t be such a bad idea. Both the jelly compound material that we’ve mentioned earlier and ultrasonic cleaner machines can be found in most office supply stores.
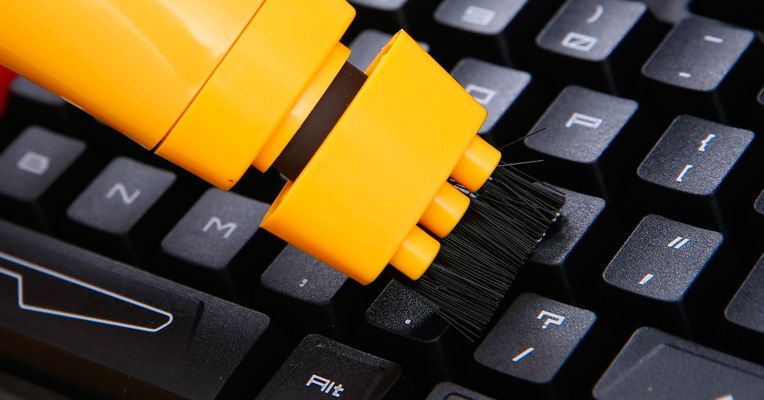
Rather than waiting for the grime to build-up, it’s best to control dust accumulation and take preventive measures by vacuuming it lightly on a regular basis. So upon seeing the first signs of dust, unplug the keyboard and vacuum it lightly with a hoover or laptop vacuum cleaner making sure that its airflow reaches all gaps and spaces between the keys. At the end, you can turn it upside down and try to shake off the remnants of petite debris.
- If you decide to use some sticky solution to attract dust that has been trapped underneath the keys and between gaps, be sure not to use the stuff that is too sticky as this may do more harm than good, resulting in the damage of the stem switches on the plate. Manufacturers rarely specify how sticky their compounds are, but you may get some hint reading the feedback of other customers who’ve tried different stuff.
- If you use a vacuum cleaner, make sure that the airflow is not very strong so as not to damage the electronic components of the keyboard. Though most modern mechanical keyboards come with special covers that shield them against spills, very few of these covers will be able to survive strong suction power of the hoover, so be careful when vacuuming your keyboard.
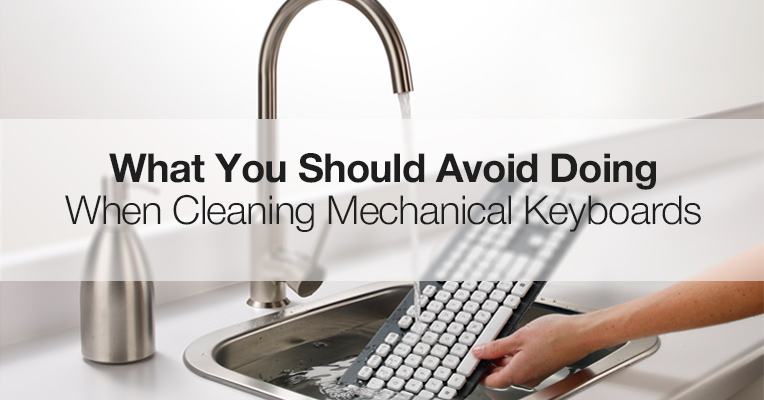
- We’ve mentioned earlier that it’s important to unplug the keyboard before cleaning it. Do not neglect this rule, especially if you use water or some liquid solution. You can connect the keyboard to the system only when it’s completely dried, which will be approximately in 3-4 days after you clean it.
A mechanical keyboard is a worthy purchase that may pay you back with years of reliable performance and smooth operation given that you take care of it and control the dust accumulation by regularly cleaning it. Do not let the grime spoil your experience from using the keyboard and take immediate measures should you notice the first signs of grease. Hopefully, our guide will come in handy and enable you to restore the original look of your keyboard with ease.