If you are doing your first steps as a tattoo artist and is still new to this kind of body art, not only is it important to get one of the best tattoo machines, but also it is essential to learn how to assemble and tune a tattoo machine so that it won’t fail when you least expect it. To get your tattoo gun set up properly, you should know your kit, see the differences between coil and rotary tattoo machines as well as understand how liner and shader guns differ. Knowing the machine mechanics and understanding the basic operation principles will help you quickly grasp the whole setup process. However, whether you’ve chosen a more popular coil tattoo machine or have a rotary tattoo machine, general setup instructions are pretty much the same and include several steps.
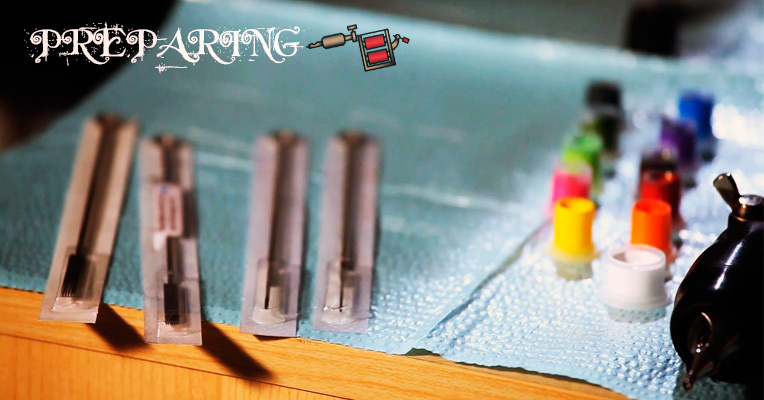
- Preparing all the necessary components. Arrange all the parts you’ll need to assemble and use your tattoo gun. What you should have at hand apart from a tattoo machine is a power supply unit with a clip cord, a foot pedal to activate and terminate the current, tattoo needles and an armature bar (which is especially helpful for beginners to make excellent lines), ink caps and inks themselves. Notably, if you are a newbie, you might get a starter kit that usually contains all the necessary components. Or you can go for those accessory components separately to get more quality and long-lasting individual parts.
- Preparing the needles. To achieve desired results, it is important to choose the needle size and type appropriate for the job.
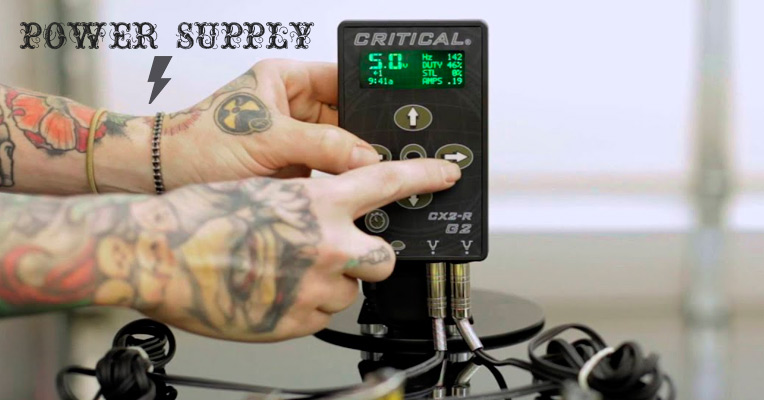
- Preparing the power supply. For the flawless machine operation, the power unit should be checked and properly connected to the gun.
- Assembling the machine. To work safely and avoid any unwanted mistakes or injuries, it is highly important to follow detailed assembly instructions and double-check the assembly in the end.
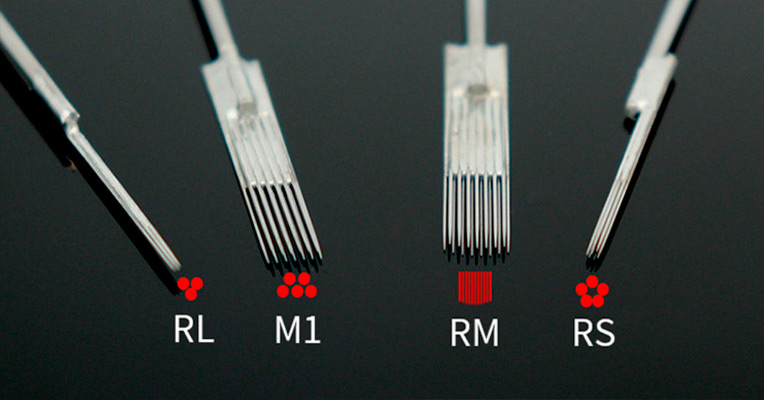
First off, the size and type of needle you need depend on the task you are going to accomplish. When it comes to dimensions, the needles vary in diameter and taper length. The smaller the diameter, the more control you will have over the ink flow. Thus, narrower needles are great for detailed work and precise lines while wide needles are used for spreading and shading. The taper or point length, on the other hand, shows how deep the needle will get under the skin. Besides, the needles can come either separately or in bundles. The bundles might include from 2 to 7 or even more needles arranged in rows or circles to do some large-scale work, thicker lines, or coloring.
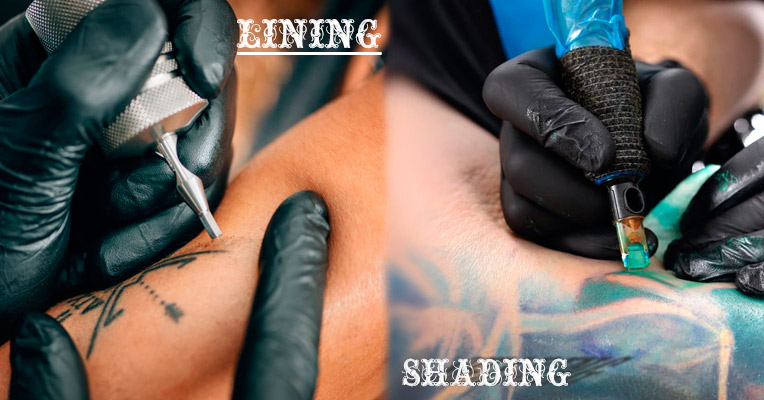
By type, tattoo needles configurations are basically divided into liners and shaders. As the names suggest, the liners are used to outline the tattoo image while shaders will come in handy to fill, color, and shade the image. Both types comprise several needles arranged on a single bar. The liner needles sit closely together to form a round tip while shaders are placed next to each other in a straight or curved line.
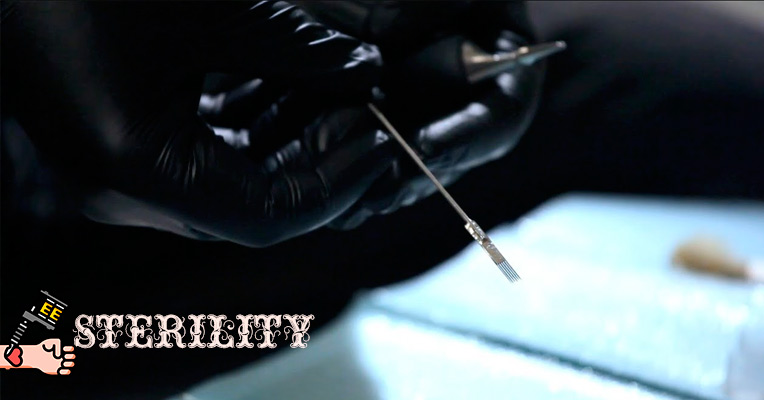
As for the needle preparation before use, everything is pretty simple. The crucial aspect to check is sterility. All needles should be pre-sterilized and come in a closed package. The needle quality and condition are yet other features to check. The needles should be smooth and perfectly straight. No flaws like burs, dull tips, or bent needles are allowed since they can cause skin damages, bleeding or even scarring.
The tube where you insert the needle and hold the machine is to be inspected as well. The tube can be either disposable or autoclaved. Make sure you use new or properly sterilized equipment each time to avoid infections and inflammations.
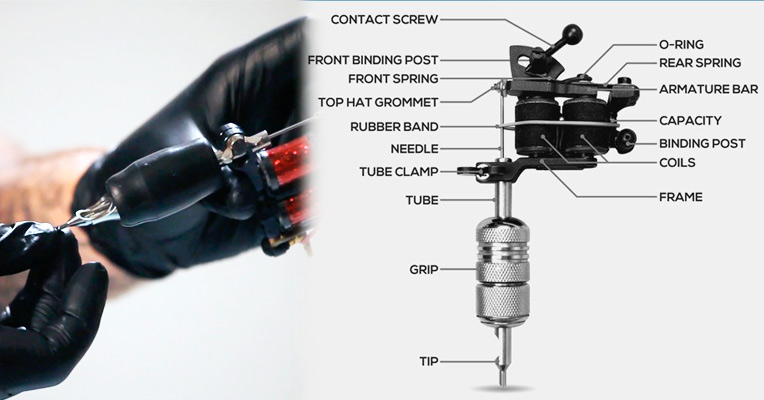
When all machine parts are checked and proper needles are selected, you can start the tattoo gun assembly. However, before you touch any components, thoroughly wash your hands with an antibacterial soap. Foam and scrub at least for 20 seconds and then rinse under the warm running water. Though at a glance, a tattoo machine looks like a complex piece of equipment, in fact, it is pretty simple to put together. The key is to connect all parts and tune the machine in a proper way.
- First off, find a contact screw and a front spring underneath it. The distance between these two points should be about a dime’s thickness. That’s what will define your linework, so, precision is crucial here.
- Unpack the needle and insert it into the tube. Slide the tube into the machine tube slot and semi-tighten the wingnut to fix the tube and have an opportunity to turn the needle eye loop to the left.
- Next, set the armature bar nipple in place to ensure correct needle positioning. It’s an essential detail since when inserted incorrectly, the needle could traumatize the skin and there will be no ink flowing out.
- Adjust the needle length that is the distance from the tube tip to the needle. Professionals recommend keeping it in between 0.04 to 0.07 of an inch.
- If you use a coil tattoo machine, slide two rubber bands around the coils. Though it’s not necessary, this handy tip will help you additionally stabilize the needle to make cleaner lines.
Most tattoo gun kits for beginners come fitted with a power supply unit. Yet, usually, it is a mid-range device that is not adjustable. Hence, it is recommended to invest in a more sophisticated power supply with variable controls. Fitted with an analog or digital display, it will let you regulate the fuse and power running into your gun. This way, you’ll be able to accurately adjust the current and prevent any machine knock-downs when working in different locations with varying voltages. Normally, the power supply has two inputs, one for connecting a footswitch to conveniently activate and turn off the needle and another one for a clip cord to connect the machine. Before proceeding to work, make sure all cables are intact and all cable connections are correct and tight.
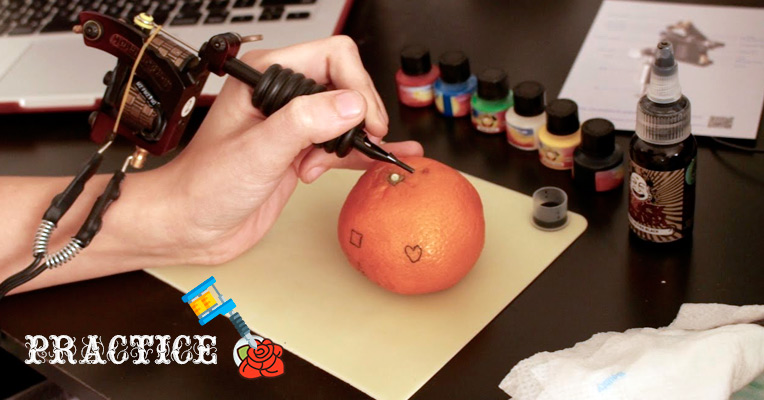
- Get enough practice. Once all components are set and adjusted, it’s time to test your tattoo gun before using it on some person’s skin. You can practice on apples or pears which are very similar to human flesh as well as use synthetic or pigskin to get a realistic tattooing experience. Thus, you’ll be able to check if you’ve assembled the device correctly to avoid damaging the real skin and can keep your hand in proper puncture depth.
- Proper machine positioning. To hold your tattoo gun correctly, firmly hold it on the needle tube as you’d normally hold a pencil. Meanwhile, the machine should be over your hand. Bear in mind that the unit will vibrate during work, so, don’t put too much pressure and try to keep your hand steady.
- Tattoo to the right depth. There are three major layers in the human skin, with the dermis being in the middle. This is where the ink will stay for a lifetime and this is your target depth. It’s about 0.04 -0.08 inches under the skin. Going deeper, you will cause pain and damage the lower skin layers.
- Practice on yourself. The best way to start tattooing real persons is to give yourself a tattoo. You will know how it feels, see how deep the needle should go, and learn to adjust the speed. As soon as you feel confident about your skill and your lines come out fine and accurate, you can start your first tattoo on another person.
As a beginner, you might get confused about the use of various types of tattooing machines intended for different tattooing styles and techniques. Thus, there are liners and shaders that look pretty much similar at a glance. However, they are not the same and to understand how to use those machines, it’s necessary to know the difference in setup. In a word, the liner is meant to make outlines and the shader is used for applying inks and pigments to the skin. Yet, there are four major aspects that differ one machine setup from another.
- Needles. The most noticeable difference is in the number of needles and their configuration that is how they are positioned in the bar. The liners use from one to seven needles set in a circle while shaders accommodate more than four needles set up in a straight line. It is essential to use correct needles for the right machines. Thus, liner needles are marked with RL and shaders have an RS marking.
- Power and speed. Usually, liners run faster for better precision and shaders require a higher voltage to penetrate the skin and get a lasting color. Hence, shaders might produce stronger vibrations you will need to get used to.
- Coil type. When setting up a tattoo machine for shading, the common rule is to use a higher wrap coil to produce enough power for multiple needles. So, the shader needs a 10 to 12 wrap coil and for the liner, an 8 wrap coil will suffice. And you will need to adjust the gaping between the front coil and the armature bar by changing the rear spring tensions and adjusting the front screw.
- Machine weight. That’s what will impact your work the most. Shaders are a bit heavier than liners. Thus, to achieve the consistently high quality of work and avoid mishaps or mistakes, you’ll need to practice working with lighter and heavier machines.
To sum it up, though tattooing might seem like something you'll never be able to handle, in practice all you need is a firm hand and a good piece of duly set up equipment. By starting with some simple images, you will hone your skill and eventually, you'll be able to create real multicolor masterpieces on the human body.
