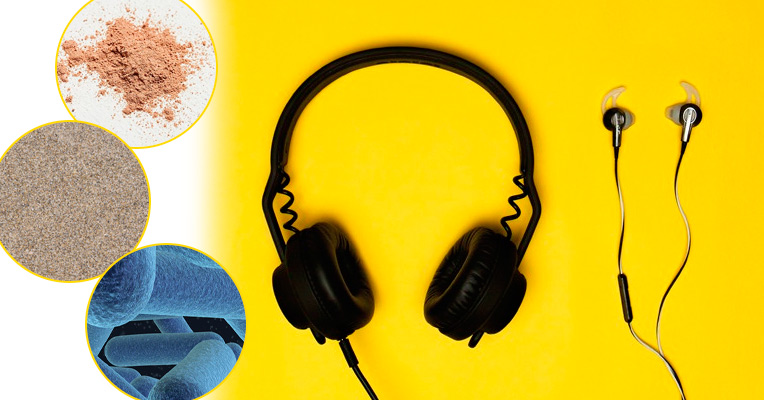
Headsets have already become an integral part of our life. Most people use their headphones daily during commuting or even working. Then we just toss them into bulky bags or pockets where they mix around with grime and other debris. And no wonder that over time, ear pads along with mesh screens get clogged with dust, skin secretion, grit, ear wax, and grease, which noticeably affects their sound quality. Even a very small amount of dirt can be the reason why the sound fades or even cuts out altogether. Moreover, earphones can transmit bacteria and lead to ear infections and a costly visit to your doctor accordingly.
So, once earbuds get dirty, it's time to take radical measures - either buy a new pair or somehow clean them. Undoubtedly, the majority of melomans would choose cleaning, especially if it’s a pair of premium wireless earbuds. And that’s why, we’ll try to cover what's the best way to clean different types of headphones.
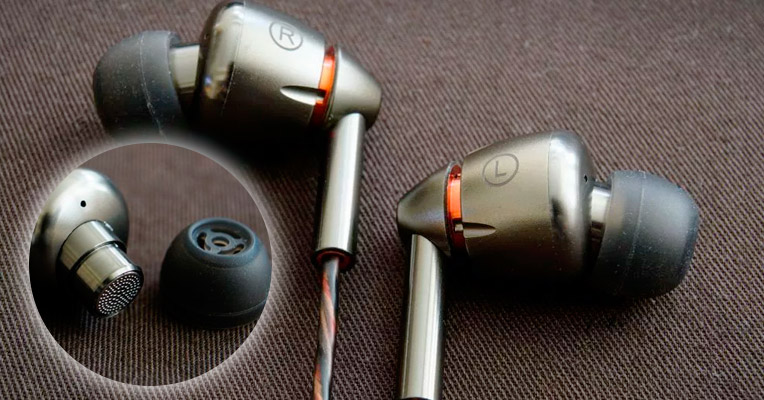
Earphones are also called earbuds, buds, in-ear monitors, in-ear headphones, and more. They refer to personal listening devices that are meant to sit inside your ear canal. Earbuds, especially in-ear models, increase the heat in your ear canal, which results in more ear wax and oil buildup on the earbuds. And, naturally, they become greasy much faster compared to headphones that fit around or outside of your outer ear. Generally, there are two main parts that require cleaning - driver units and ear tips.
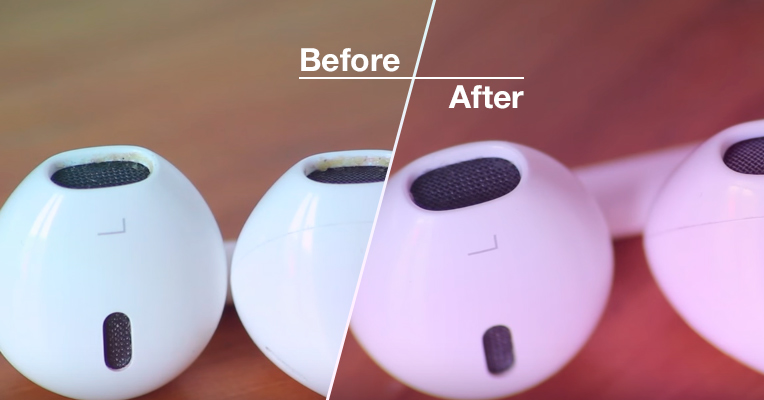
To clean the driver unit, remove the ear tips and slightly wipe the mesh screen with a soft dry cloth. You shouldn’t push too hard, since this might direct the ear wax into the mesh surface. If residue remains, dampen your soft cloth and wipe the wax away. And if you’d like to perform deep cleaning, follow these steps:
- Remove the tips from the earbuds and set them aside. Then take your earphones, holding them with the mesh screen facing downwards.
- Apply a small amount of hydrogen peroxide, soap mixture, wax removal system, or any other special cleaning solution to the mesh surface, using a soft cloth. As an alternative, you can use a soft-bristled toothbrush.
- Let your earphones sit for 3-5 minutes to allow the dirt and clogged ear wax to soften.
- Gently scrub the mesh to remove the wax and other dirt from its surface. Don’t let excess hydrogen peroxide in the open port of the earphone.
- Gently shake your earphones to get rid of excess liquid and debris.
- Dry your earbuds with a tissue or soft cloth.
- Set them aside until they’re completely dry.
- Reassemble the ear tips.
- Remove the ear tips from the earbuds and wipe them down with a soft cloth or paper towel. For better results, you can wash them with mild soap. Soak them in soapy water for 5 minutes.
- Rinse and dry the tips with a soft cloth.
- Let them air dry before the assembly.
These tips are applicable to silicone tips only. Foam tips are disposable and need to be replaced over some time, otherwise, the sound quality might decrease.
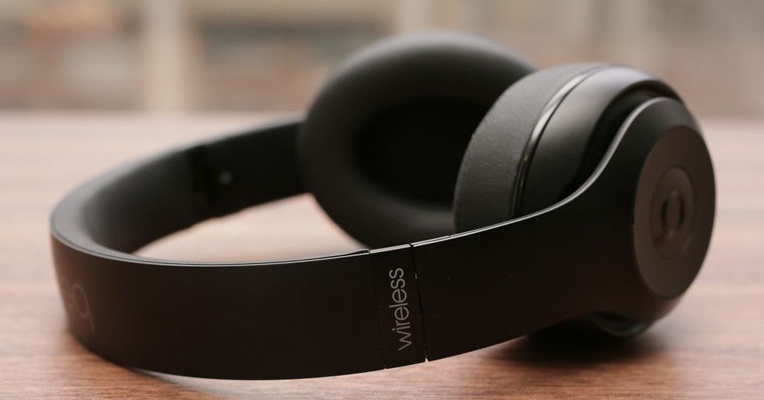
Cleaning headphones is a bit trickier process, especially if you own a pair with non-removable ear cups. Headphones typically include more delicate parts - the casing can be cast from steel, aluminum, or titanium, while pads can be manufactured from vinyl, faux leather, or genuine leather. Speaking about kids’ headphones, they are usually made of high-quality plastic that requires less maintenance. Well, what do you actually need to have in order to perform a throughout cleaning of your “cans”?
- Water;
- Soap or dish soap;
- Soft cloth or dish towel.
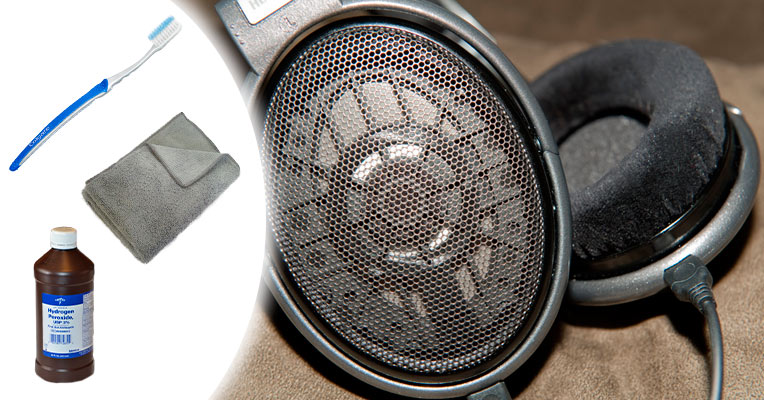
Also, you can optionally use cotton swabs, a soft-bristled toothbrush, Isopropyl alcohol, hydrogen peroxide, or special headphone cleaners.
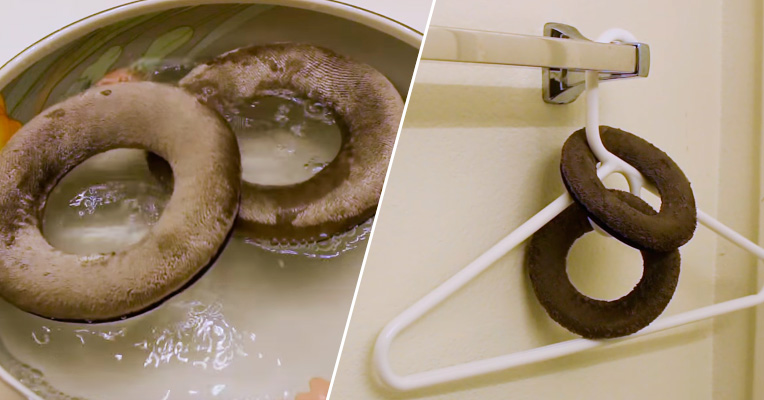
If your earphones have removable ear pads, dismount them and clean separately from the body. To clean them, rub them firmly yet gently with a soft damp cloth. It should be dampened with lukewarm water and thoroughly wringed out, as the contact of any electronic component with too much liquid might lead to failure. After cleaning, allow the ear parts to air dry before reattaching.
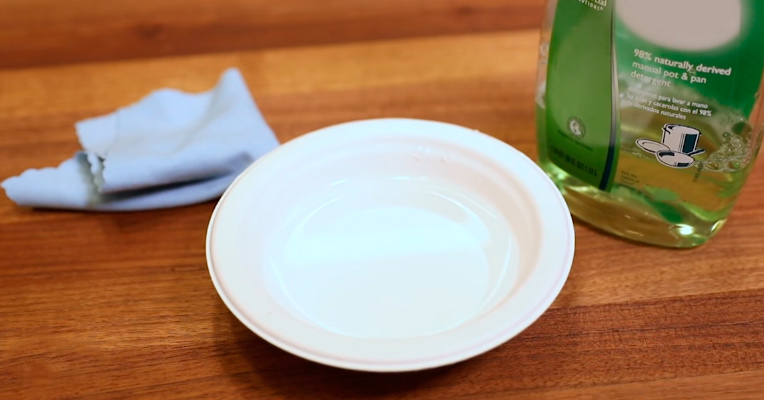
If the ear tips or pads are extremely grimy, only water won’t be enough to get them completely clean. You’ll need to add one drop of the soap into a bowl and then soak the cloth in it. Next, wipe the pads off, rinse the soapy cloth, and go over the pads again to remove soapy residue. If even the soap can’t remove stains, you can use hydrogen peroxide or special cleaners that offer more cleaning power.
The metal mesh in headphones will also accumulate dust, dirt, and earwax, though a bit slowlier. And once you notice buildup lingering on your headphones, you should clean the mesh screen. Some headphones come fitted with removable covers for easier access to the mesh screens. If your headphones are just like that, gently remove the cover before cleaning. Then, using a soft cloth or toothbrush, dislodge all the debris.
If grit still remains, slightly wet cloth or brush and wipe the ear wax away. For very tough ear wax, hydrogen peroxide is a way out. Add a few drops on the screen and let it do its job. After applying a cleaning agent, wipe the screen dry and wait for several minutes before reassembly.
Surely, a dirty headband doesn’t affect the sound quality your headphones produce, but we doubt whether you’d like to wear a filthy item on your head. You wash your clothes, yeah? And the same goes for a headband. To clean it, you need to use a damp, slightly soapy cloth, or sponge. For more stubborn grease, use cotton balls pre-soaked in hydrogen peroxide.
Many users and even earphone manufacturers suggest using a mini vacuum designed specifically for cleaning hearing aids and other small items. This vac features tiny vacuum pumps that can efficiently remove earwax and other grit.
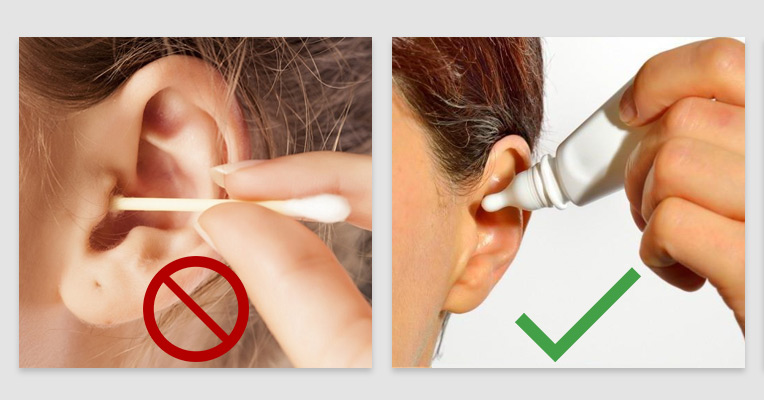
Needless to say, less wax in your ears results in less oil on your earphones. So, for maintaining an optimal listening experience, you should also keep your ears clean. The doctors worldwide ask people to stop sticking standard Q-tips, toothpicks, pins and anything else into their ears. Cleaning your inner ears with similar items is not the healthiest idea, since they can just worsen the situation by pushing wax further in. Plus, they can damage your delicate ear canal, hence, create ways for bacteria to enter. Actually, doctors warn you about putting anything inside your ears. Instead, they recommend cleaning your outer ear with a gentle washcloth. All the ear wax will fall out on its own.
In case you don’t want to wait, you can use special ear drops that soften wax. Also, you can irrigate your ears with a syringe. But if you notice hearing problems related to too much ear wax, you should immediately see your doctor.
- Never submerge your headphones in water, as you’ll damage the wires. Also, don’t put them under running water even for a second.
- Clean earphones only when they're detached from your mobile phone, player or any other gadget. Naturally, this doesn’t go for wireless headphones. They can be paired with your source digital device anytime.
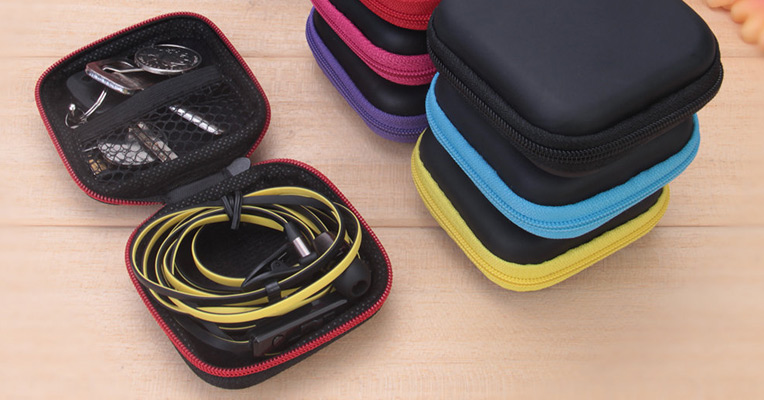
- Try to store your headphones or earbuds in a protective case when they are not in use. And to prevent the growth of mold and appearance of nasty odors, you can throw a few silica gel packets inside the case.
- If you haven’t got a dedicated case for your headset, you can use household objects to keep them tangle-free at least. A simple way is to put your earphones in a prescription bottle or Q-tip container. If you’re a do-it-yourselfer, you can cut grooves in your old credit card and wrap your headphones around them. The more simple way is just to secure your headphones with a binder clip.
- If possible, clean the headphone exterior before and after each use. If you do it regularly, you will slow down the formation of any buildup. And thorough cleaning won’t be a necessity for a longer time.
- Keep away from sharing your headphones with other people because of bacteria.
- In case you often jog with music flowing through your earphones, you should be aware of your surroundings. Therefore, we don’t recommend you to use noise-canceling earphones, as they can block out all the sound around you. And even if you use standard earphones, try to keep your volume down. Plus, high volume can be damaging to your hearing.
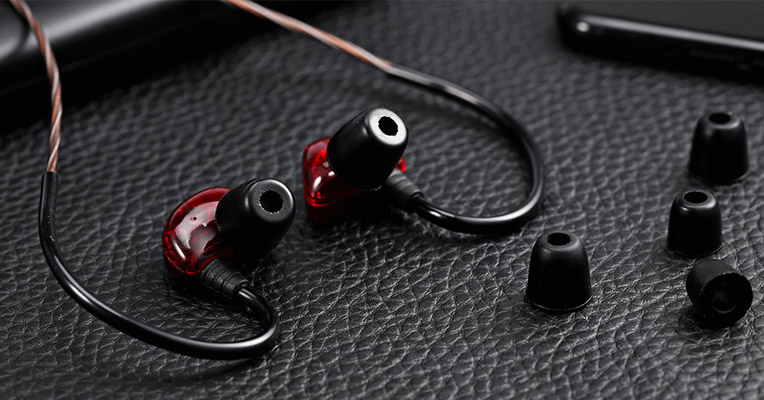
- Our ears are different, and finding the right-size earbuds might be tricky. Most in-ear monitors come with several eartips of different size. Try them all and find the pair with the best "seal". It will reduce outside noise and ensure the great bass response.
