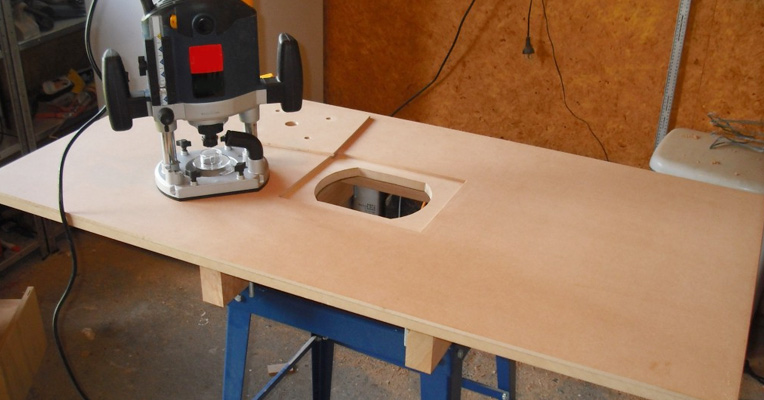
Router tables are designed to accommodate a router in an inverted position with a bit protruding through a hole in the table surface. Hence, you will rather run a workpiece against a spinning bit than running a router over the wood. There is a whole variety of routing tasks and they all require work precision and accuracy. Hence, the first feature to check about the router table is the construction stability and durability. A really good router table should also accept different types of routers to be compatible with your tool. The features that will add convenience, versatility, and safety to your work include a secure and adjustable protective fence, a miter gauge, bit guard, and dust collection ports to connect a vacuum cleaner for mess-free work.
There is a big difference between using a handheld wood router and using the same tool fixed on a router table. All craftsmen and DIYers would claim that the major advantage of any router table is that it relieves your hands of the strain and stress that you'd experience when using the router manually, thus, allowing you to work longer and more productively. However, a quality router table will provide a lot more than this benefit. Other router table advantages include:
- Cutting precision and speed. When you cut with a handheld router, the precision of your work fully depends on your knowledge, skill, and experience. A router table, on the other hand, ensures truly high cutting precision, thanks to a fixed bit that reduces the risk of the workpiece shifting and getting off the course while passing it along the bit. Such cutting precision in its turn will let you apply substantially higher pressure on the workpiece and move it much faster, still obtaining consistently accurate cuts.
- Intricate cuts and inlay work. Unlike manual models mainly intended for cutting only straight lines or some geometric patterns, a fixed bit of a router table will give you an opportunity to process irregular workpieces and cut complex patterns allowing you to maneuver the wood the way you like. Besides, a router table is suitable not only for cutting along the edge but also for inlay work where most handheld models would fail due to the lack of stability and precision.
- Deeper cuts. Customizing and achieving consistent cutting depth when using a manual router fully depends on your woodworking skills and might become a real challenge for a beginner. With a router table, modifying the depth of the cut and making some multi-depth cuts will be times easier even for a novice woodworker.
To achieve efficient cutting results on a regular basis and get the best out of your router table, a proper device setup and adjustment are essential. Besides, correct table installation is a warranty of a router safety operation. To be sure you’ve made everything right, there are several basic steps to follow:
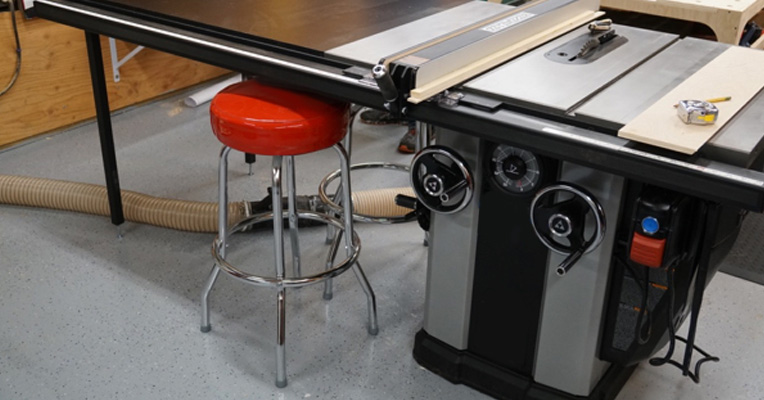
- Whether you use a benchtop model, a floor-standing unit, or an extension wing normally attached to a table saw, the very first thing you should do is to ensure a stable base for your machine to prevent it from shifting and moving around.
- Provide easy access to the mains and due power connection and check that the table power switch is operable to be able to activate and turn the tool off when needed.
- Make sure the insert plate holding the router tool is properly attached and sits in flush with a router table surface.
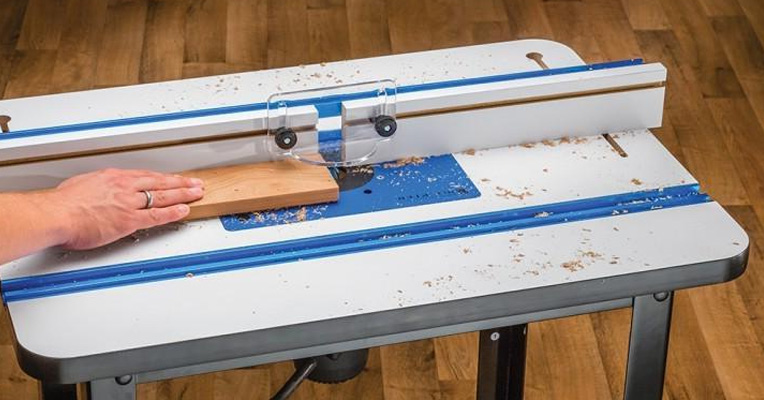
- Check that the fence is securely fixed and does not wobble. It should be perfectly aligned and steady since it is the fence that is used to guide the workpiece in a proper manner to achieve the cutting precision you expect.
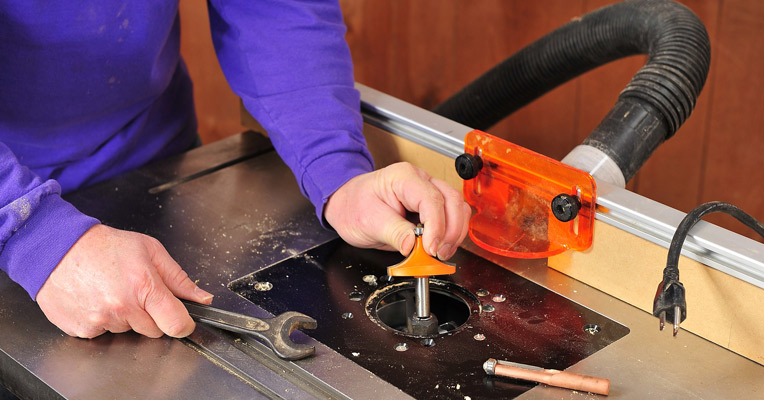
Different types of works and cutting tasks require using different bits. Hence, it is highly important to be able to quickly switch between bits and install them as intended.
- Unplug the machine before changing a bit.
- Using a wrench, loosen the locking nut on the shaft to remove an old bit.
- Pull the bit out of the shut, remove the locking nut and a collet to eliminate any debris, if necessary.
- Reinstall the nut and the collect back into the shaft and slide in a new bit.
- Tighten the collet and the locking nut to keep the bit securely fixed.
Using a router table is not as difficult as it might seem. Whether you are a skilled DIYer or a beginning woodworker, you’ll quickly get the hang of it. Meanwhile, our handy tips and recommendations will help you discover those router table functions you didn't know about:
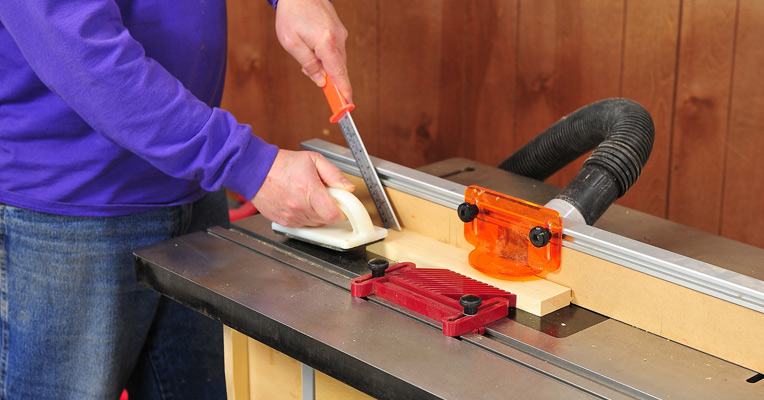
Processing all kinds of workpieces. While handheld routers are not so good for long, narrow, and small workpieces, a router table leaves both you hands free for holding and maneuvering the stock and allows making moulding, profiling edges, and trimming.
Pattern work. With a router table, you’ll be able to trim the workpiece edges not only to flat and smooth surfaces but also to follow contoured patterns and templates. Cleaning up an edge, forming a rounded top or cutting any curved part will be a breeze.
Using a router table as a jointer. Subject to using a special jointing shim to shim out the fence, a router table might double as a jointer to flatten workpieces and save you the need to purchase a dedicated tool for this task.
Cutting all types of grooves and slots. Making grooves, slots, tenons, mortises, dadoes, and rabbets is essential for the majority of complex woodworking projects. A router table will help accomplish these tasks quickly and without any hassle. And you can do all those cuts with basic router bits usually included in the set.
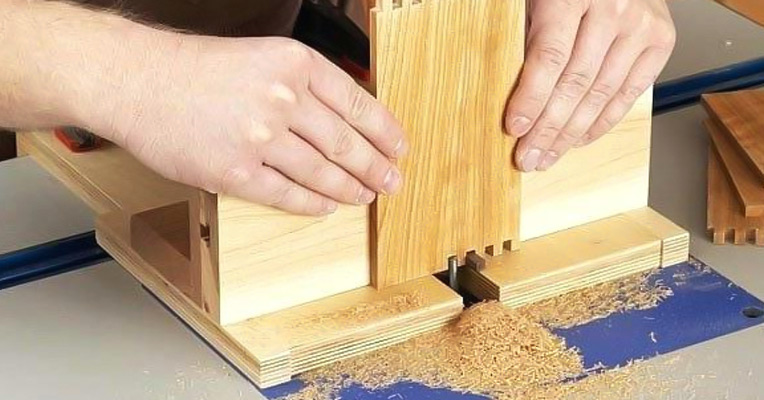
Dovetail joints. This type of joints widely used in furniture making and carpentry is considered one of the most complicated and intricate and it is normally made with a special tool - a dovetail jig. Yet, with a router table at hand, you won’t have to buy a separate dovetail jig. It will help you cut out dovetail joints in a whole variety of sizes and configurations.
A router table will come in handy for a whole range of woodworking operations. With a due level of experience and skill, the possibilities are truly endless. Hence, if you are into a woodworking, a good router table will undoubtedly take a decent place in your workshop.